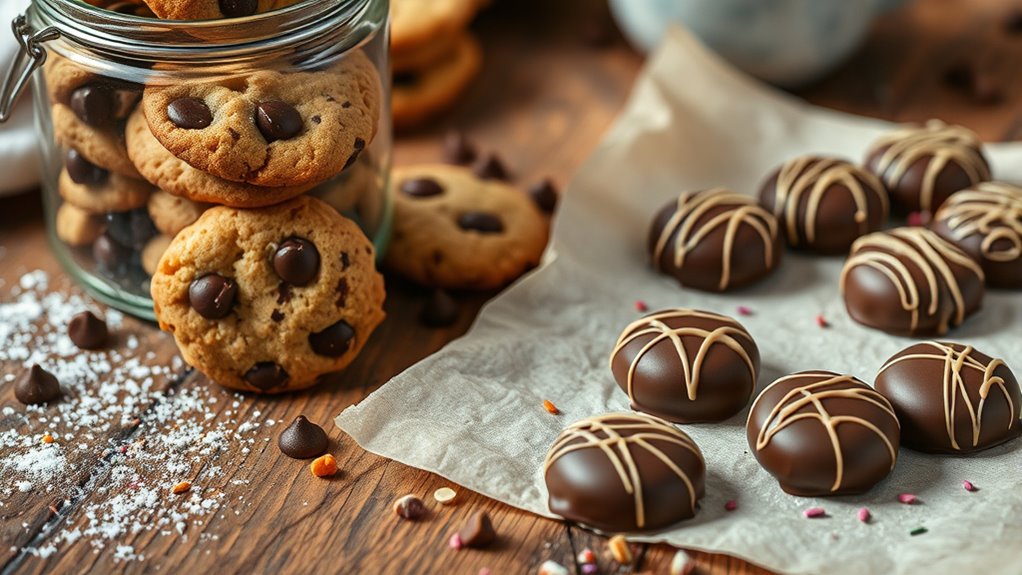
Making homemade edible treats like cookies and chocolates is simple and fun. You can adapt recipes with different ingredients, such as using honey, maple syrup, or coconut sugar to replace traditional sugar, which might change texture and flavor. Proper storage in airtight containers or freezing helps keep your treats fresh for longer. If you want to master flavor tweaks and storage tips, there’s plenty more to discover to perfect your homemade delights.
Key Takeaways
- Choose simple recipes and adapt ingredients to dietary preferences or flavor profiles.
- Experiment with sugar substitutions like honey, maple syrup, or artificial sweeteners for desired taste.
- Store treats in airtight containers at room temperature or freeze for extended freshness.
- Keep chocolates in a cool, dry place, wrapped properly to prevent melting and odor absorption.
- Reheat or thaw stored treats to enjoy them as fresh-baked, ensuring optimal flavor and texture.
Have you ever wondered how easy it is to create delicious, homemade edible treats right in your own kitchen? Making cookies, chocolates, and other sweet confections can be surprisingly straightforward once you get the hang of it. One of the first things you’ll want to consider is how to adapt recipes for different dietary needs or preferences, especially when it comes to sugar. Sugar substitutions are a popular way to make treats healthier or to suit your taste. For example, you might swap regular granulated sugar with honey, maple syrup, coconut sugar, or artificial sweeteners. Each substitution can subtly alter the texture and flavor, so it’s good to experiment to find what works best for your recipe. For instance, using honey adds moisture and a rich flavor but can also make baked goods slightly denser, so you might need to adjust the flour or liquid content. Coconut sugar offers a caramel-like taste and can be used as a one-to-one replacement for white sugar, making it a simple switch that doesn’t require many adjustments.
Experiment with sugar substitutes like honey or coconut sugar to customize your treats’ flavor and texture.
Once you’ve baked or prepared your treats, proper storage becomes essential to keep them fresh and delicious. Knowing the right storage tips ensures your homemade goodies stay at their best for as long as possible. For cookies, storing them in an airtight container at room temperature usually works well, especially if you plan to enjoy them within a few days. To prevent cookies from becoming stale or soggy, you can place a piece of bread in the container; the bread will absorb excess moisture and help keep your treats crisp. If you want to save cookies for longer periods, consider freezing them. Wrap them tightly in plastic wrap and place them in a freezer-safe bag or container. When you’re ready to indulge, just thaw them at room temperature or reheat briefly in the oven for a fresh-baked feel.
Chocolates and candies have their own storage needs. Keep chocolates in a cool, dry place away from direct sunlight to prevent melting or blooming—the white film that sometimes appears on the surface. For homemade chocolates, storing them in an airtight container in a cool pantry or fridge can prolong their freshness. Remember that chocolates can absorb odors, so keep them away from strong-smelling foods. When it comes to candies like fudge or caramel, wrapping individual pieces in wax paper and storing in an airtight container helps maintain their texture and flavor. Additionally, incorporating appropriate storage containers can help prevent moisture and air from degrading your treats.
In short, with a few simple adjustments like sugar substitutions and thoughtful storage tips, you can make your homemade edible treats taste amazing and last longer. Whether you’re baking cookies or crafting chocolates, these tips help you enjoy your sweet creations at their best, every time.
Frequently Asked Questions
How Can I Customize Recipes for Dietary Restrictions?
You can customize recipes for dietary restrictions by using gluten-free swaps like almond or coconut flour instead of regular flour. For sweetness, opt for natural sugar substitutes such as stevia or erythritol. Adjust ingredient quantities as needed to guarantee the desired taste and texture. Always check labels and experiment gradually to ensure your treats meet your dietary needs without sacrificing flavor or quality.
What Are the Best Storage Methods for Homemade Treats?
You want your homemade treats to stay fresh and delicious, right? Use airtight containers to keep out moisture and air, which can spoil your goodies. For chocolates and perishable items, refrigeration tips like wrapping treats in parchment paper before storing in airtight containers help maintain texture and flavor. Avoid overcrowding, and label containers for easy access. Proper storage guarantees your treats stay tasty and fresh longer!
How Long Do Homemade Edible Treats Stay Fresh?
Your homemade edible treats typically stay fresh for about one week when stored properly. For ideal shelf life, follow storage tips like keeping cookies in an airtight container at room temperature and chocolates in a cool, dark place. If you want them to last longer, consider freezing them, which can extend freshness up to three months. Proper storage tips help maintain flavor, texture, and overall quality.
Can I Substitute Ingredients to Make Vegan Options?
You can definitely swap ingredients to make vegan treats—don’t let the cat out of the bag! Use vegan substitutes like almond or coconut milk instead of dairy, and opt for dairy-free alternatives such as vegan butter or coconut oil. These swaps work well in most recipes, ensuring your treats stay delicious and cruelty-free. Just keep in mind that some adjustments might be needed to get the perfect texture and flavor.
What Are Some Creative Presentation Ideas for Homemade Treats?
You can get creative with your homemade treats by using themed packaging to match special occasions or motifs, making your presentation stand out. Add decorative garnishes like edible flowers, sprinkles, or drizzles to enhance visual appeal. Consider stacking treats in clear jars or wrapping them with colorful ribbons. These touches make your treats memorable and inviting, perfect for gifting or showcasing at gatherings, ensuring they look as good as they taste.
Conclusion
Now, with your hands, you craft comfort, joy, and delight. You mix, you mold, you savor each step. You bake, you melt, you enjoy the sweet aroma filling your space. You share, you indulge, and you create memories that linger. Homemade treats aren’t just desserts—they’re moments of love, patience, and creativity. So keep experimenting, keep tasting, and keep turning simple ingredients into extraordinary delights that warm your heart and everyone’s smile.